
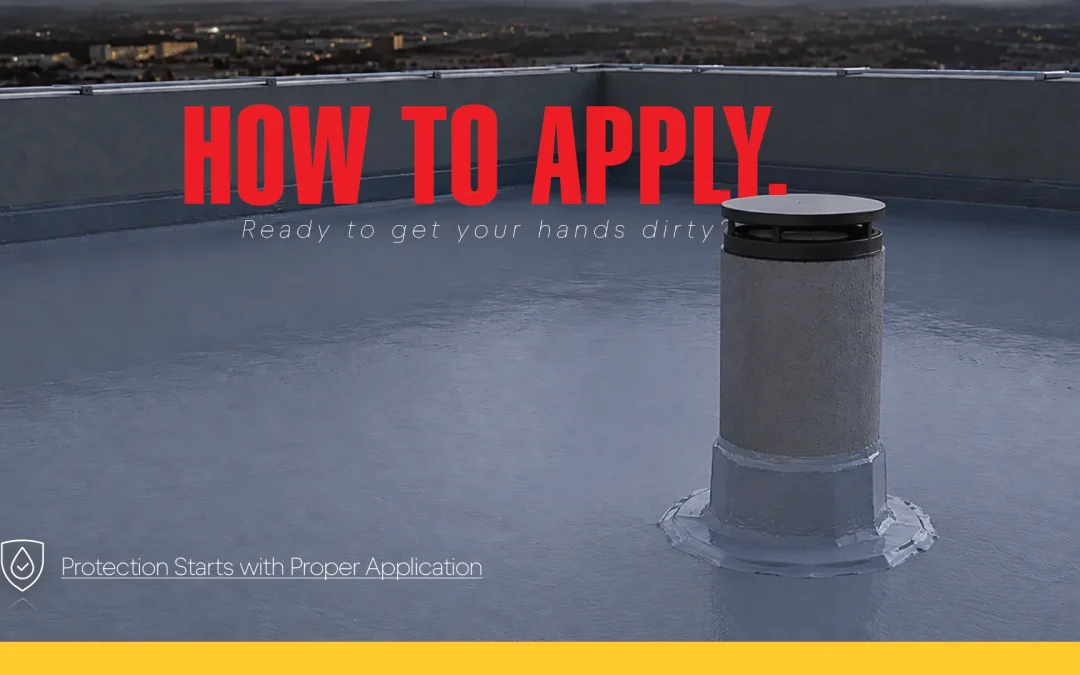
Reinforcement is embedded in the liquid membrane and saturated to form a continuous waterproofing layer.
Lava 20 installation follows four main stages: preparation, detailing, waterproofing, and finishing. This waterproofing membrane installation process is central to the Lava 20 roofing system, and each stage has a specific purpose — from helping the membrane bond to the roof to maintaining protection around pipes, drains, and corners within a complete roof waterproofing system.
1. Clean, inspect, and prime
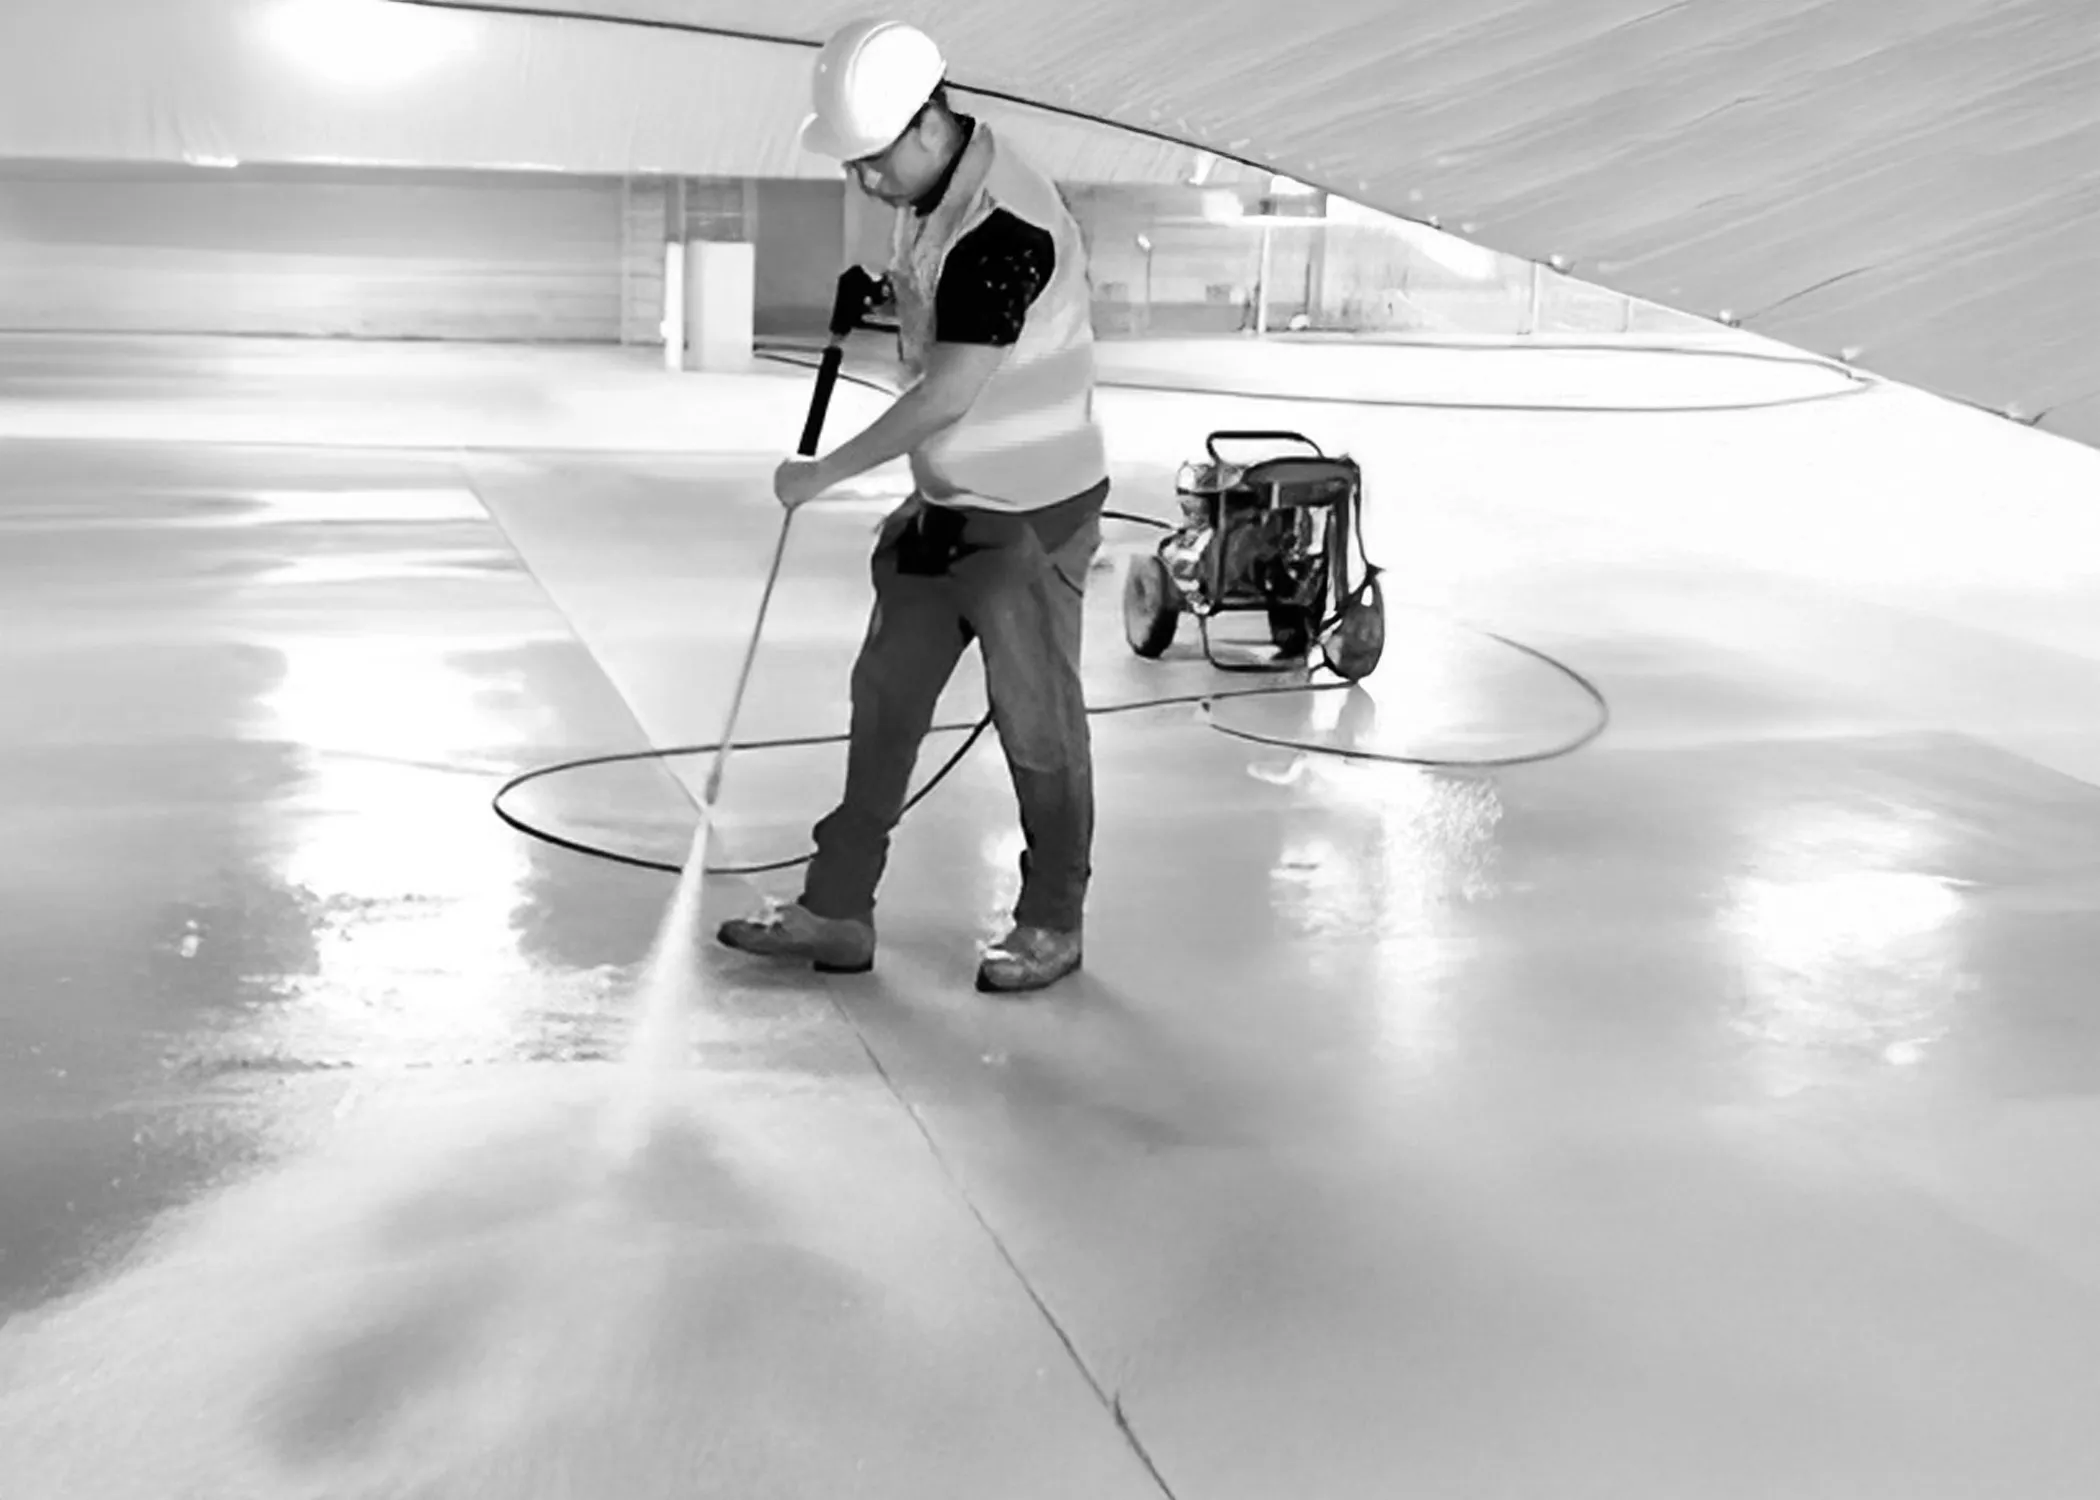
Start by removing dirt, grease, loose material, and organic growth. Inspect the roof for damage, trapped moisture, and drainage problems, and complete necessary repairs before coating. The surface must be clean, sound, and dry so the membrane can bond properly.
Next, apply the appropriate Lava 20 primer for the existing roof material. Primer drying time depends on the product: Olmeck lists approximately 15–30 minutes for Quick Primer and 4–8 hours for MB Epoxy Primer. The shorter time should not be assumed for every installation. Primer guidance
2. Waterproof the details
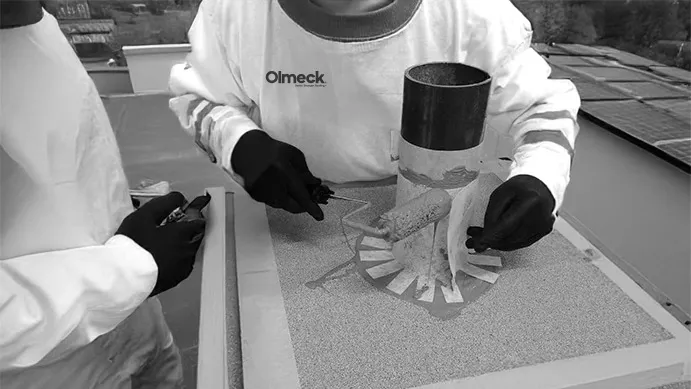
Pipe penetrations require close attention where the roof surface meets the upright pipe.
Fill cracks, joints, and voids with the specified Lava 20 PU joint sealer. Use the appropriate flashing or detail membrane around penetrations and transitions, and the specified vertical membrane on upright or sloped surfaces.
Reinforce connections around drains, pipes, corners, and wall bases as required. These areas need waterproofing that follows the change in shape and connects continuously with the main roof membrane. Detailing guidance
3. Build the reinforced membrane
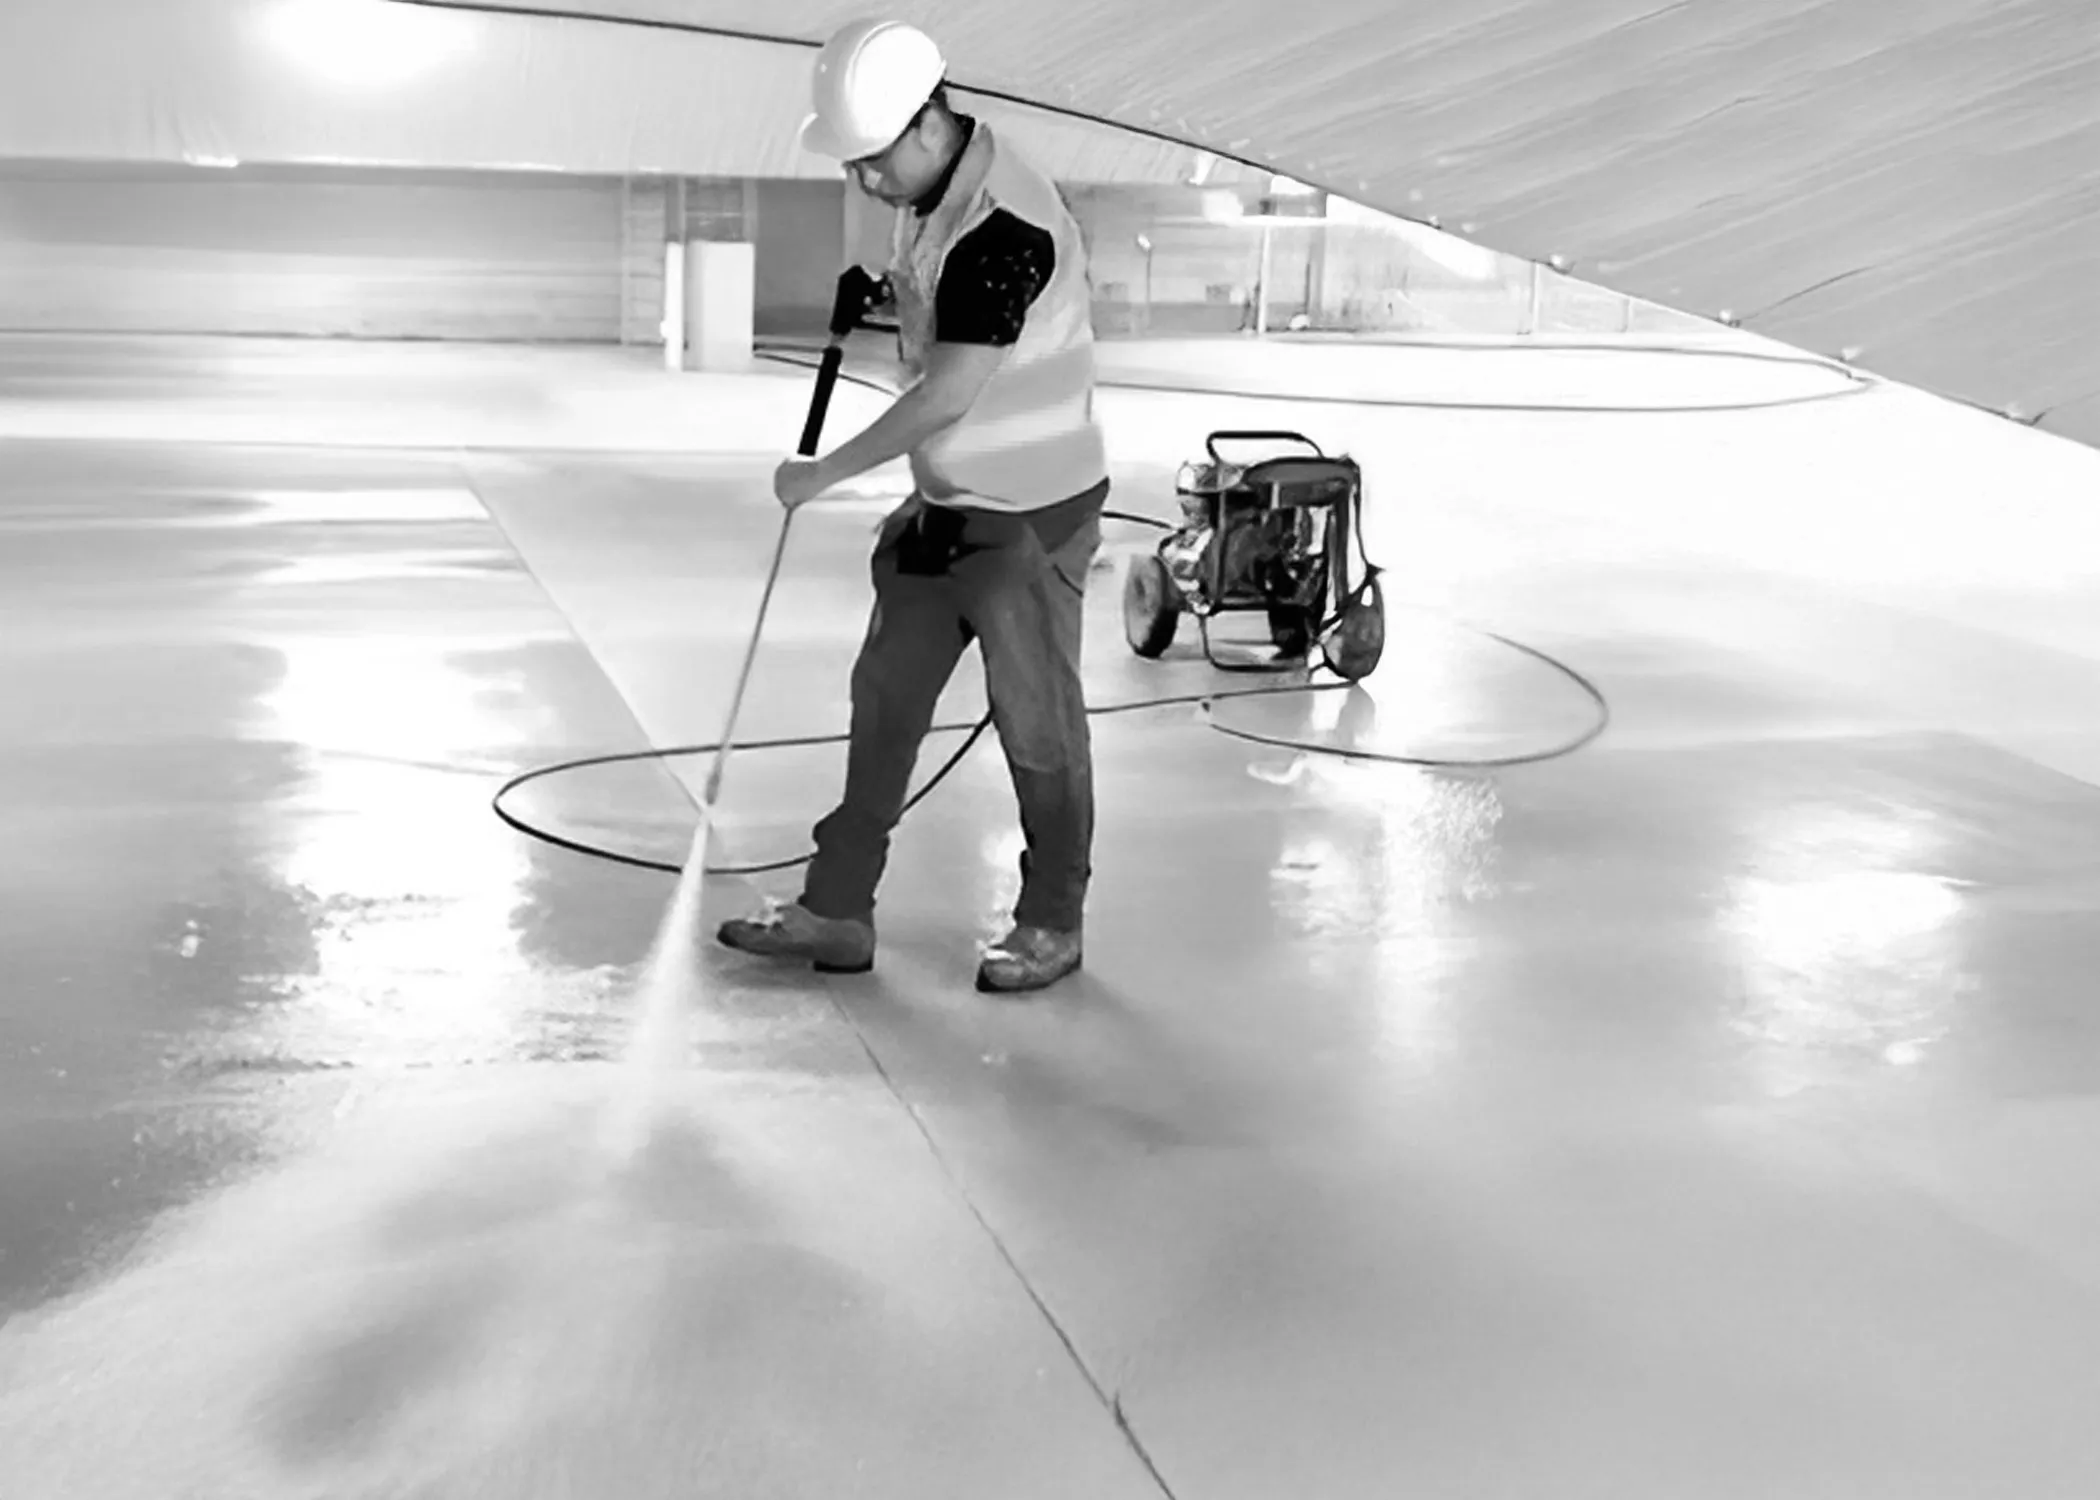
For the reinforced system shown here, apply the first layer of Lava 20 Field membrane, then embed the specified fleece or mesh into the wet coating. Press the reinforcement into place and apply more membrane over it until it is fully saturated.
The reinforcement becomes part of the waterproofing layer, forming the basis of reinforced membrane roofing. It should sit securely within the membrane, with the specified overlaps between adjoining sections. Full-surface fleece is required for bitumen-based roofs; other surfaces have their own system requirements. Reinforced application guidance
Where Lava 20 Catalyst is specified, follow the prescribed mixing ratio and working time. Its use must remain consistent with the required reinforcement and membrane thickness.
4. Apply the finishing coat
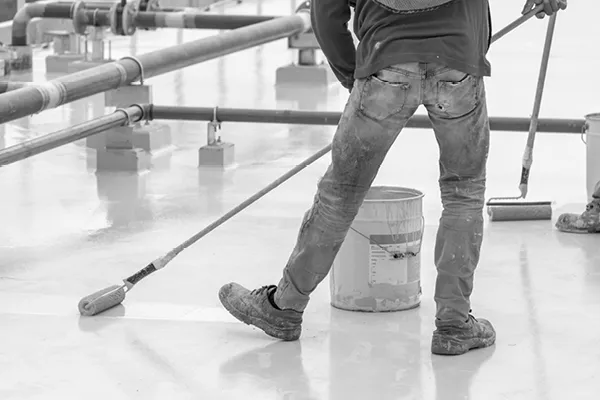
Once the membrane is ready for recoating, apply Lava 20 White Top Coat for the specified finish. Where extra grip is needed, incorporate the approved anti-slip aggregate according to the system instructions. Top coat guidance
Before putting the roof back into service, allow the system to cure and check coverage, transitions, and drainage outlets. Primer selection, application rates, and recoating times should always follow the Lava 20 specification for the roof being treated.